Categories
Buyer ContentPublished November 11, 2025
The Pre-Settlement Walkthrough

The Final Step: Pre-Settlement Walkthroughs
Your last chance to ensure everything is right before closing
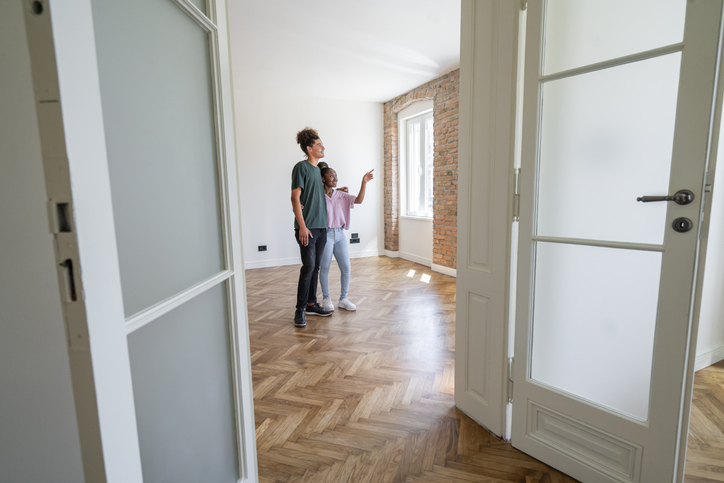
When you're buying a home, the excitement of “it’s yours!” is often just minutes away. But before you sign on the dotted line and take possession, there’s one crucial step worth doing right: the pre-settlement walkthrough (also known as the final walk-through). This is your opportunity to ensure the property is in the agreed-upon condition and that nothing unexpected throws a wrench in your move-in.
✅ What is a Pre-Settlement Walkthrough?
A pre-settlement walkthrough gives buyers a chance to inspect the home shortly before closing — to verify that everything is still as expected. Unlike a full home inspection, this walkthrough is not intended for a deep technical evaluation. It’s about confirming the condition: Have agreed-upon repairs been made? Are the fixtures and appliances still in place and working? Has any new damage appeared since signing the contract?
According to the Pennsylvania Association of REALTORS’s Form ASR subparagraph 12(A)(2), buyers have the right to two walkthroughs prior to settlement to determine that “the condition of the property is as required by this agreement and any addenda.”
🧐 Why It Matters
-
It helps you verify that what you signed up for is what you’ll receive. For example, if the contract required certain repairs or that specific appliances stay in place, now’s the time to check.
-
Homes can change condition between signing and closing — things like moved-out furniture, missing fixtures, new damage, utilities shut off, or agreed repairs undone. A walkthrough lets you spot surprises.
-
It gives you leverage and peace of mind — if something is off, you can address it before closing instead of discovering issues after you’ve moved in.
🔍 Key Buyer Checklist: What to Focus On
| Area | What to Check |
|---|---|
| Repairs & condition | Have all negotiated repairs been completed? Is the property in substantially the same condition as when you agreed to purchase? |
| Fixtures & appliances | Are included items (appliances, light fixtures, built-ins) still present and functioning? |
| Systems working | Confirm utilities are on; test HVAC, plumbing (run faucets, flush toilets), electrical (light switches, outlets) and appliances. |
| Interior & exterior check | Doors/windows open and close, no new damage or debris, property reasonably clean (“broom-swept” standard). |
| Inclusions/exclusions | Review contract to ensure what was supposed to stay is still there and what was to be removed has been. |
🕒 When Should It Take Place?
Ideally, the final walkthrough occurs as close to settlement as possible — often the day before closing or when it's up to me, it's ON THE WAY to the settlement. The reason isn't just logistical, I want my buyers to arrive at that table KNOWING that one of the most expensive purchases of their lives is still standing and secure.
🛑 What If You Find Problems?
If during the walkthrough you discover missing items, incomplete repairs, damage that’s appeared since inspection, or the property hasn’t been vacated as agreed, you and your agent have several options:
-
Delay closing until the seller completes corrections.
-
Negotiate a credit or repair escrow: you close but some funds are held back to ensure the work is done.
-
Walk away (rare): permitted only if the seller is in material breach and the contract allows it.
According to the PAR article: “If repairs were not completed as agreed … then buyers need to determine if they want to extend the contract until repairs are completed, close the transaction with a potential escrow agreement … or maybe even argue that the seller’s failure to perform … was a default.”
🗝 Tips for Buyers & Agents
-
Bring your contract, inspection reports, and any repair addenda to the walkthrough.
-
Schedule enough time to move through each room and check exterior spaces. Rushing is a risk.
-
Document any issues: take photos or video with timestamps to support any later requests for correction.
-
Don’t treat the walkthrough like a full inspection — it’s a verification step. New major issues not related to agreed-repair items may be harder to insist upon.
-
For sellers: ensure the home is “broom-clean,” utilities function, agreed repairs are completed, and access for walkthroughs is reasonable.
✅ Bottom Line
The pre-settlement walkthrough is your final checkpoint before becoming the owner. It’s the moment to ensure the house you’re about to close on is really the home you agreed to buy. Skipping it or treating it casually increases risk; doing it thoroughly protects your investment and reduces surprises on move-in day.
If you’re buying or selling and want guidance on your pre-settlement walkthrough — or need help coordinating timing, documentation, and checklists — our team is here to support you every step of the way.
|


or another way